Teamwear planning
Planning Custom Sports Kits: What to Put in Your Brief
A custom kit brief should connect how the team plays with what each player needs to receive. Capture the garments, design, sizes, quantities, and approval points together.
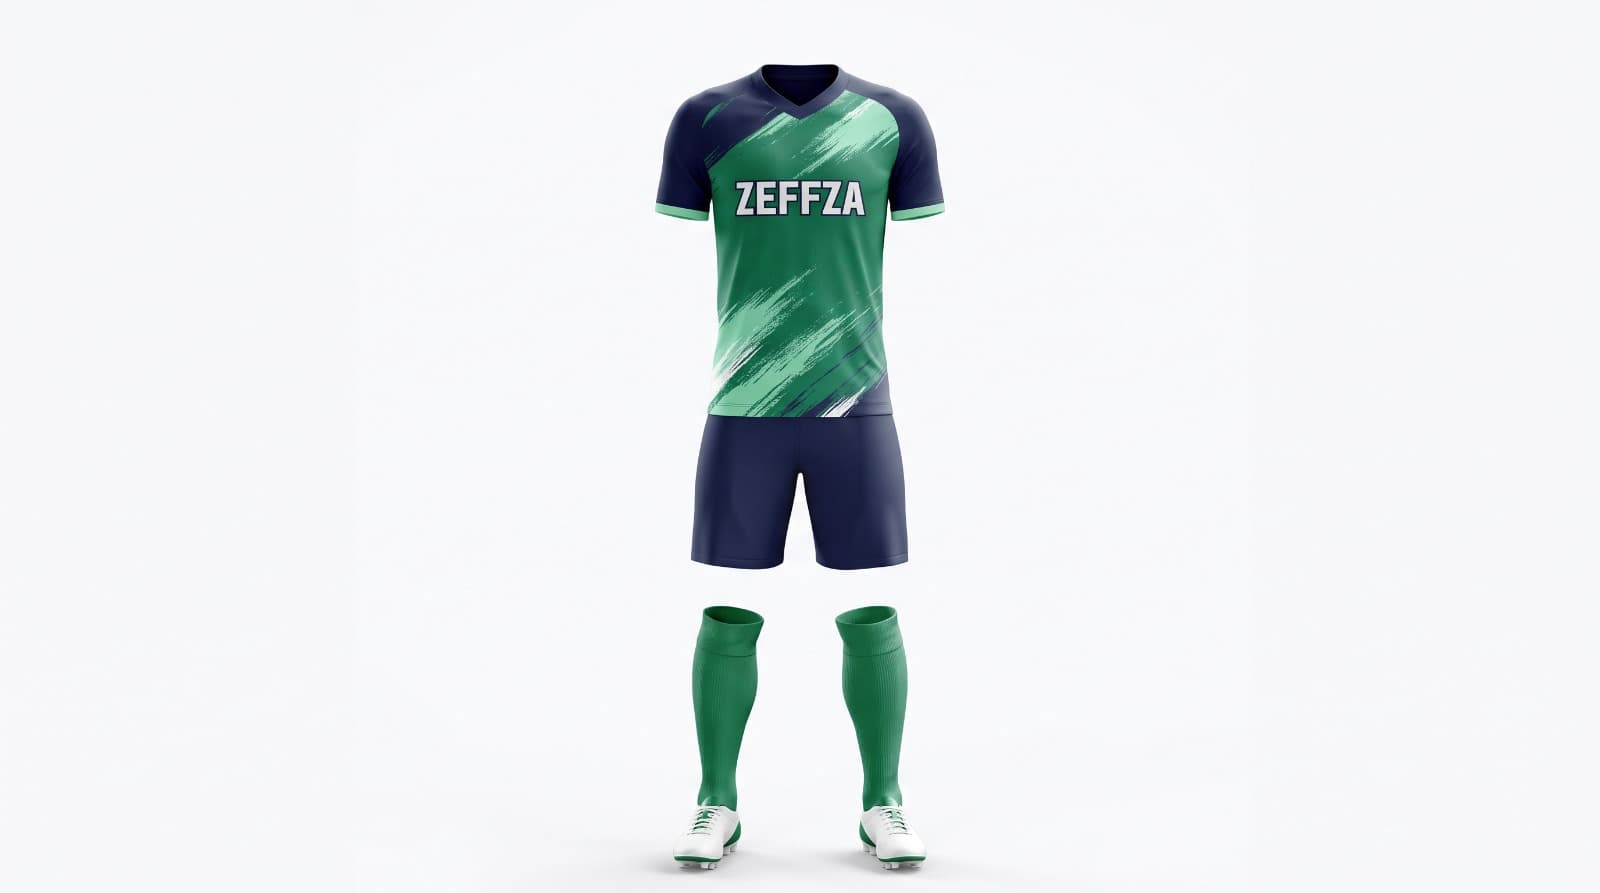
Whether the kit is for a club, school, academy, or event, begin by listing every item included. A playing top may be only one line; shorts, warm-up layers, or other pieces need their own requirements and quantities.
Create a kit specification map
Keep the sport and end use visible while you complete each product line.
| Topic | Brief area | Details to collect |
|---|---|---|
| Sport and use | Sport, age group, team level, competition or training use, and expected layering. | Note any buyer-defined construction or performance requirements to discuss for the selected style. |
| Garment set | List tops, shorts, socks, warm-up pieces, or other items as separate products. | State colorways, player and goalkeeper variants if relevant, and how each item pairs with the rest of the kit. |
| Design and personalization | Provide logo files, colors, sponsor artwork, numbers, names, and placement references. | Mark which artwork is final and which is only a direction; identify the person approving the final layout. |
| Size and order run | Attach the intended chart and give player sizes and quantities for each product. | Separate confirmed roster sizes from estimates and ask about MOQ and order grouping for the selected styles. |
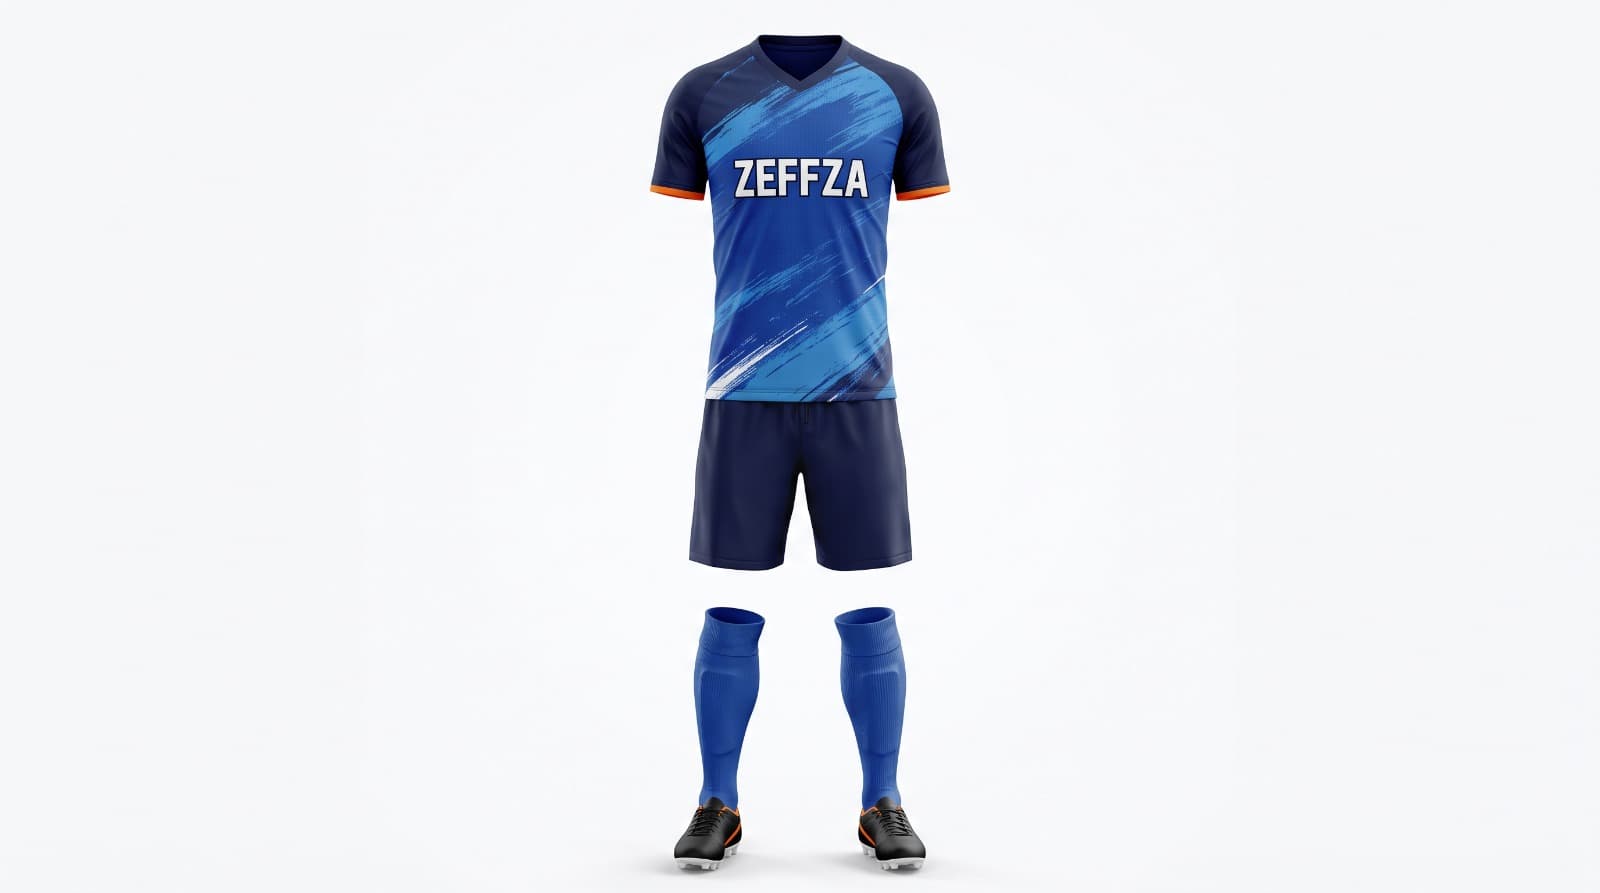
Make design approvals clear
Combine front, back, and detail views with the color references and placement notes. Identify the artwork revision and who can approve it. If a number, name, sponsor, or team logo can vary by player, provide a roster in a format agreed with the supplier.
Team kit details to confirm
- The full garment set and each style’s intended sport and use.
- Colors, logo artwork, sponsor marks, player numbers, and names by placement.
- The size chart, player size list, quantities, and how late roster changes will be handled.
- Fabric targets, construction notes, trims, labels, and packaging requirements.
- Sample expectations, approval responsibility, order quantities, and delivery destination.
Use a simple review sequence
- 01
Review the brief
Check every style, size, quantity, artwork file, and open specification before the project discussion.
- 02
Review visual references
Confirm colors, logo positions, numbering, and the artwork revision that should be considered.
- 03
Discuss a sample
If sampling is planned, agree what can be checked and how feedback or changes will be recorded.
- 04
Confirm order details
Review the final size and quantity run, applicable terms, and destination before committing the order.